Personal, free VPN in 5 minutes with Docker
A 5 minutes story written on Apr 2019 by

Containers are a great piece of technology. As a developer I enjoy its benefits in production-like environments, but most of all I love it because it improves our daily tasks. This article is part of the “Pragmatic Docker series for Web developers”, and it’s a simple example on how you can harness the containers power for your own needs.
“A virtual private network (VPN) extends a private network across a public network, and enables users to send and receive data across shared or public networks as if their computing devices were directly connected to the private network. Applications running across a VPN may therefore benefit from the functionality, security, and management of the private network.” Wikipedia
Basically it will create a secure pipeline between your device and the VPN server. Example, if your OpenVPN server is hosted on an AWS US EC2 instance, your HTTP requests, data, forms etc will go trough: your phone < - > public wifi < - > internet provider < - > VPN server < - > internet. Even if the Wifi or the internet provider is compromised, noone can see your data because is encrypted.
I started using VPN’s for personal use after the Krack attacks for pubic WiFis. If you find yourself using often public internet access points and/or you care more about your privacy and security you I will show you how can you setup your own VPN!
Requirements:
- Bash-like environment and basic knowledge
- familiar with Docker essentials
- a client with Open VPN client installed. Windows/Linux or Android
A server:
- a VPS/VM/server with internet and SSH access - Examples: Digital Ocean 5$ Droplet, AWS EC2, Google Compute Instance
- Docker installed on the server
- a STATIC (that does not change) public IP or domain/subdomain for your server, example: AWS Elastic IP or Google Cloud static IP
- 1194 TCP open port for ingress (incoming data), example: AWS Security group or Google Cloud Firewall Rule
Choose the location of your VM/Server wisely, it will be your location from now on. For example you can trick services that are only available for a specific country!
VPN Setup
We will use the most popular Docker image for Open VPN kylemanna/docker-openvpn.
For persistence and convenience we need to store our VPN’s private key in a Docker volume, named ovpn-data-family. It is basically a folder that will be shared by all OpenVPN containers. One advantage is that you can remove the container or run OpenVPN commands in parallel.
OVPN_DATA="ovpn-data-family"
docker volume create --name $OVPN_DATA

#generate config
PUBLIC="public-ip-or-domain"
docker run -v $OVPN_DATA:/etc/openvpn --log-driver=none --rm kylemanna/openvpn ovpn_genconfig -u udp://$PUBLIC

#init keys, set a password and remember it!, you will have to type it 4 times
docker run -v $OVPN_DATA:/etc/openvpn --log-driver=none --rm -it kylemanna/openvpn ovpn_initpki

So far you should have downloaded the OpenVPN image locally, generate the config and a private key.
It is recommended that, for each client do you want to use (client = device you want to secure) to generate its own config/key. You can repeat the following steps for all your smart-phones and PCs.
#generate client
CLIENT_NAME="my-laptop"
docker run -v $OVPN_DATA:/etc/openvpn --log-driver=none --rm -it kylemanna/openvpn easyrsa build-client-full $CLIENT_NAME nopass

#get the client configuration file, download it fro mthe server and add it to your open vpn client as in the windws,android, mac os linux program
docker run -v $OVPN_DATA:/etc/openvpn --log-driver=none --rm -it kylemanna/openvpn ovpn_getclient $CLIENT_NAME > $CLIENT_NAME.ovpn
The .ovpn file is a configuration file that also contains an unique key for each device. If you lose/change a device you can also remove its credentials from the server.
Now we can run the server and let it do its work.
Remember to open the port 1194! (OpenVPN will use 1194 UDP but we are proxying it trough our machine on 1194 TCP with docker)
#start the server
docker run -v $OVPN_DATA:/etc/openvpn --name openvpn --detach -p 1194:1194/udp --cap-add=NET_ADMIN kylemanna/openvpn

#check if it is running
docker ps
The output should be something like:
CONTAINER ID        IMAGE                                   COMMAND                  CREATED             STATUS              PORTS                                      NAMES
597602f73190        kylemanna/openvpn                       "ovpn_run"               2 seconds ago       Up 2 seconds        0.0.0.0:1194->1194/udp                     openvpn
The server should be up and running by now and accessible from the internet. Docker will keep our container running even after the server is restarted.
Devices (clients)
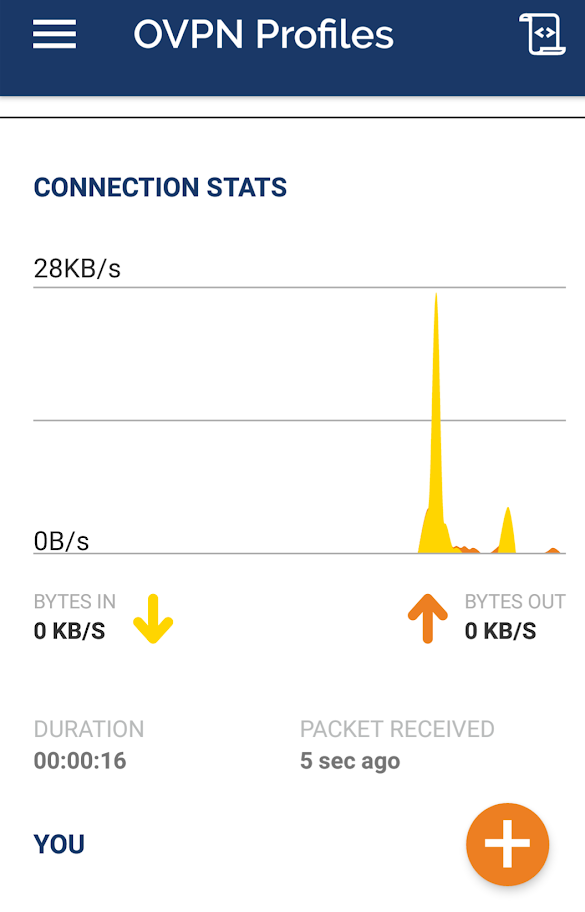
Now you can test from a client that your traffic is routed trough the VPN server. This can be done after you put the .ovpn files and import them to the OpenVPN clients, see these screenshots for a PC and Android example.
Download Windows/Linux or Android clients

#connect from a Linux PC
sudo openvpn --config /path/to/my-laptop.ovpn

#your public IP should be now the same as the VPNs
dig @resolver1.opendns.com ANY myip.opendns.com +short
[optional] DNS
By default, OpenVPN will tell the clients to use Google’s DNS, if you want a more private and slightly more performing service you can change it to Cloudflare 1.1.1.1.:
#On the server, attach to the container
docker exec -it openvpn /bin/bash
#open the config with nano or vi
bash-4.4# vi /etc/openvpn/openvpn.conf
Replace
push "dhcp-option DNS 8.8.8.8"
push "dhcp-option DNS 8.8.4.4"
with
push "dhcp-option DNS 1.1.1.1"
push "dhcp-option DNS 1.0.0.1"
Note: to exit Vi you must press [ESC], then [:wq] to write the changes and quit
The End
You are done! I hope you learn a few things about docker, servers and as a result you have a free and personal VPN to keep your devices secure and private!